
These horns are "Hella" loud!

Where have I been?
It has been quite some time since I have wrote an article! I have been very busy with my new job as a Server Engineer which has been quite the learning experience. I believe that I haven't been writing because I have many topics that I would like to write about. This immense blessing has resulted in 0 progress on this blog and I would like to change that.
Beep beep!
Up until now, I have only focused on the software engineering and technology architecture industry in this blog. In this article we're going to shift gears and talk about cars! More specifically, the process of installing new horns on my 2023 Subaru Crosstrek Limited. The horns that come stock with the car are very quiet and for lack of a better word, wimpy. I decided that it would be a fun little project to swap them out for a new set that is very popular in the Subaru modding community known as the Hella Supertone Horns.
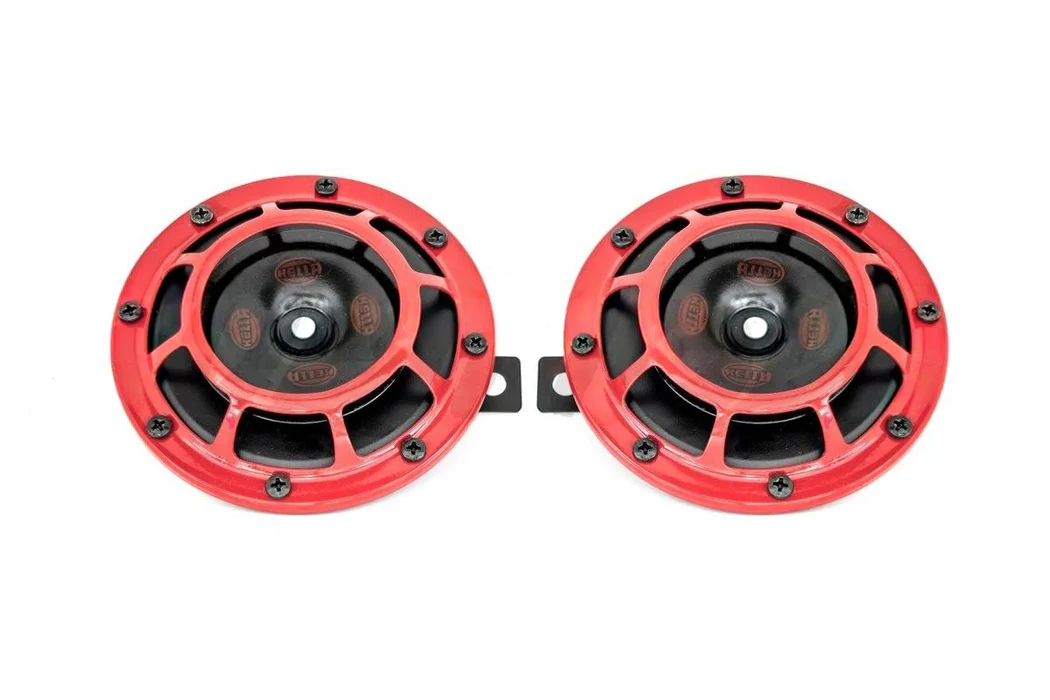
Parts Needed
In order to get this project done I needed three things:
- Hella Supertone Horns $45-$50
- Mounting Hardware (two bolts and a couple of nuts to screw onto those two bolts) $5-$10
- Subimods Official Ultimate Hella Horn Harness Most Subaru Models $50-$60
Having these three components will ensure that you have all the parts needed to put this horn on your Crosstrek. All in this project should cost between $100 to $130 depending on the time you are buying the parts and if there are any sales going on.
Installation
There's no escaping it, I have searched all the videos and all the forums of people installing these horns on the second generation Crosstrek and while some have managed to install it without removing the bumper I assure you it is much quicker and much less frustrating to install it with the bumper off. Although I was intimidated at first, I removed the bolts and clips holding the bumper on and pulled it off. Here is a video of the process:
And here is what my car looked like after pulling it off:
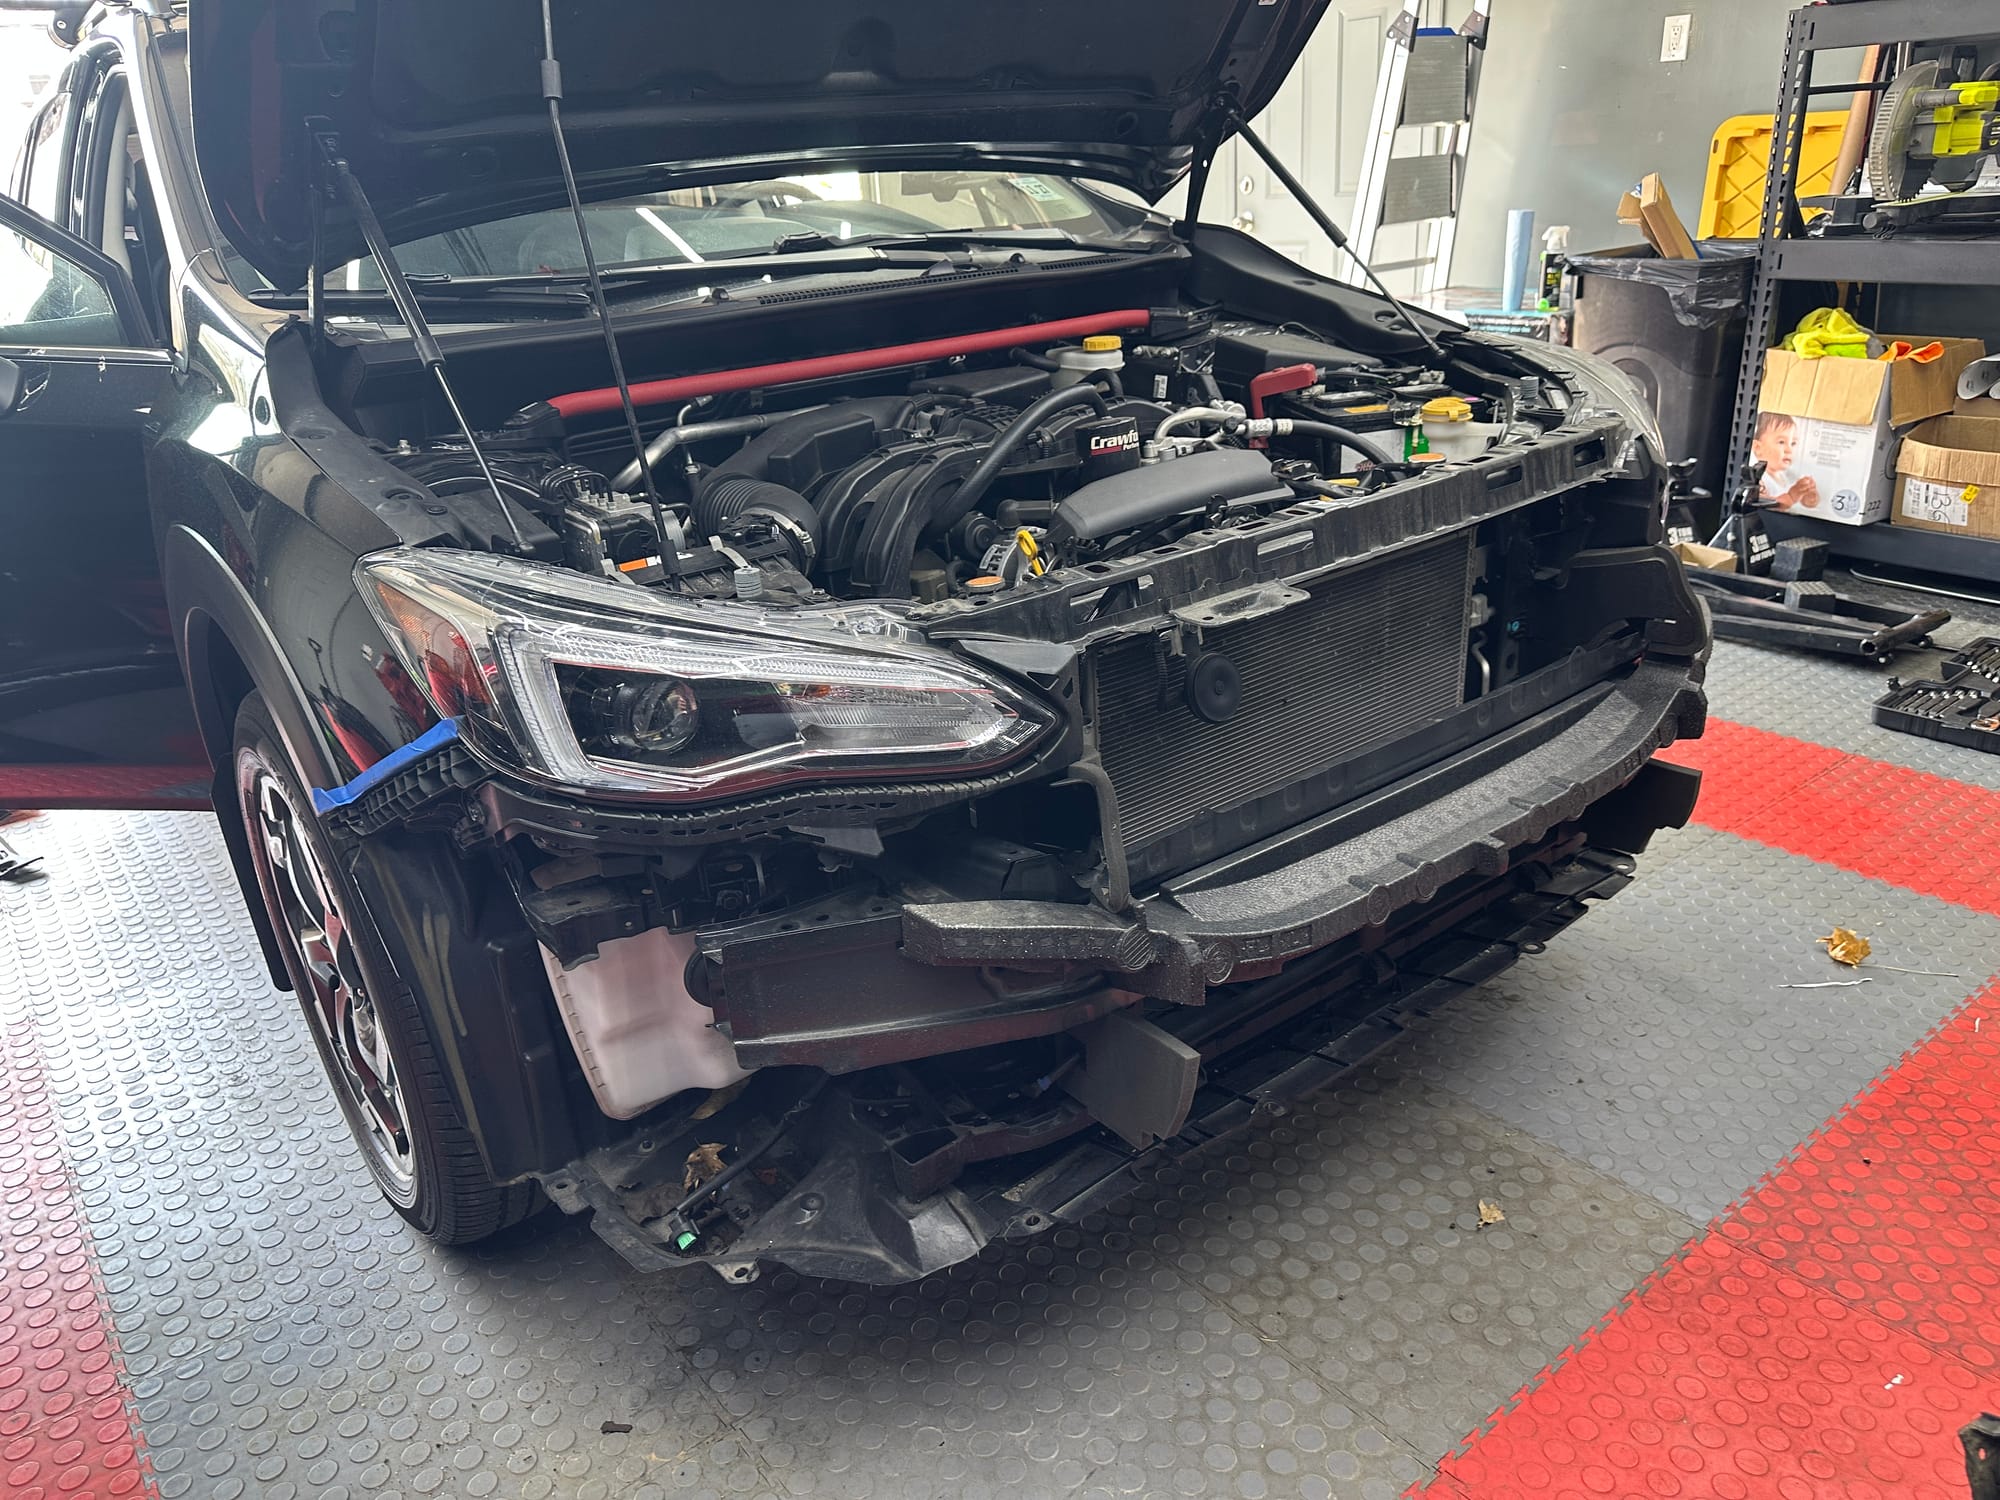
You might notice I have masking tape on the edge of the fender where the bumper meets it because I did not want to scratch the fender or the bumper as I flexed it to remove it. This method worked great!
Right in front of my radiator you will notice a black circle, that is one of the original horns. You will see the size of it in comparison to the new one in the next photo.
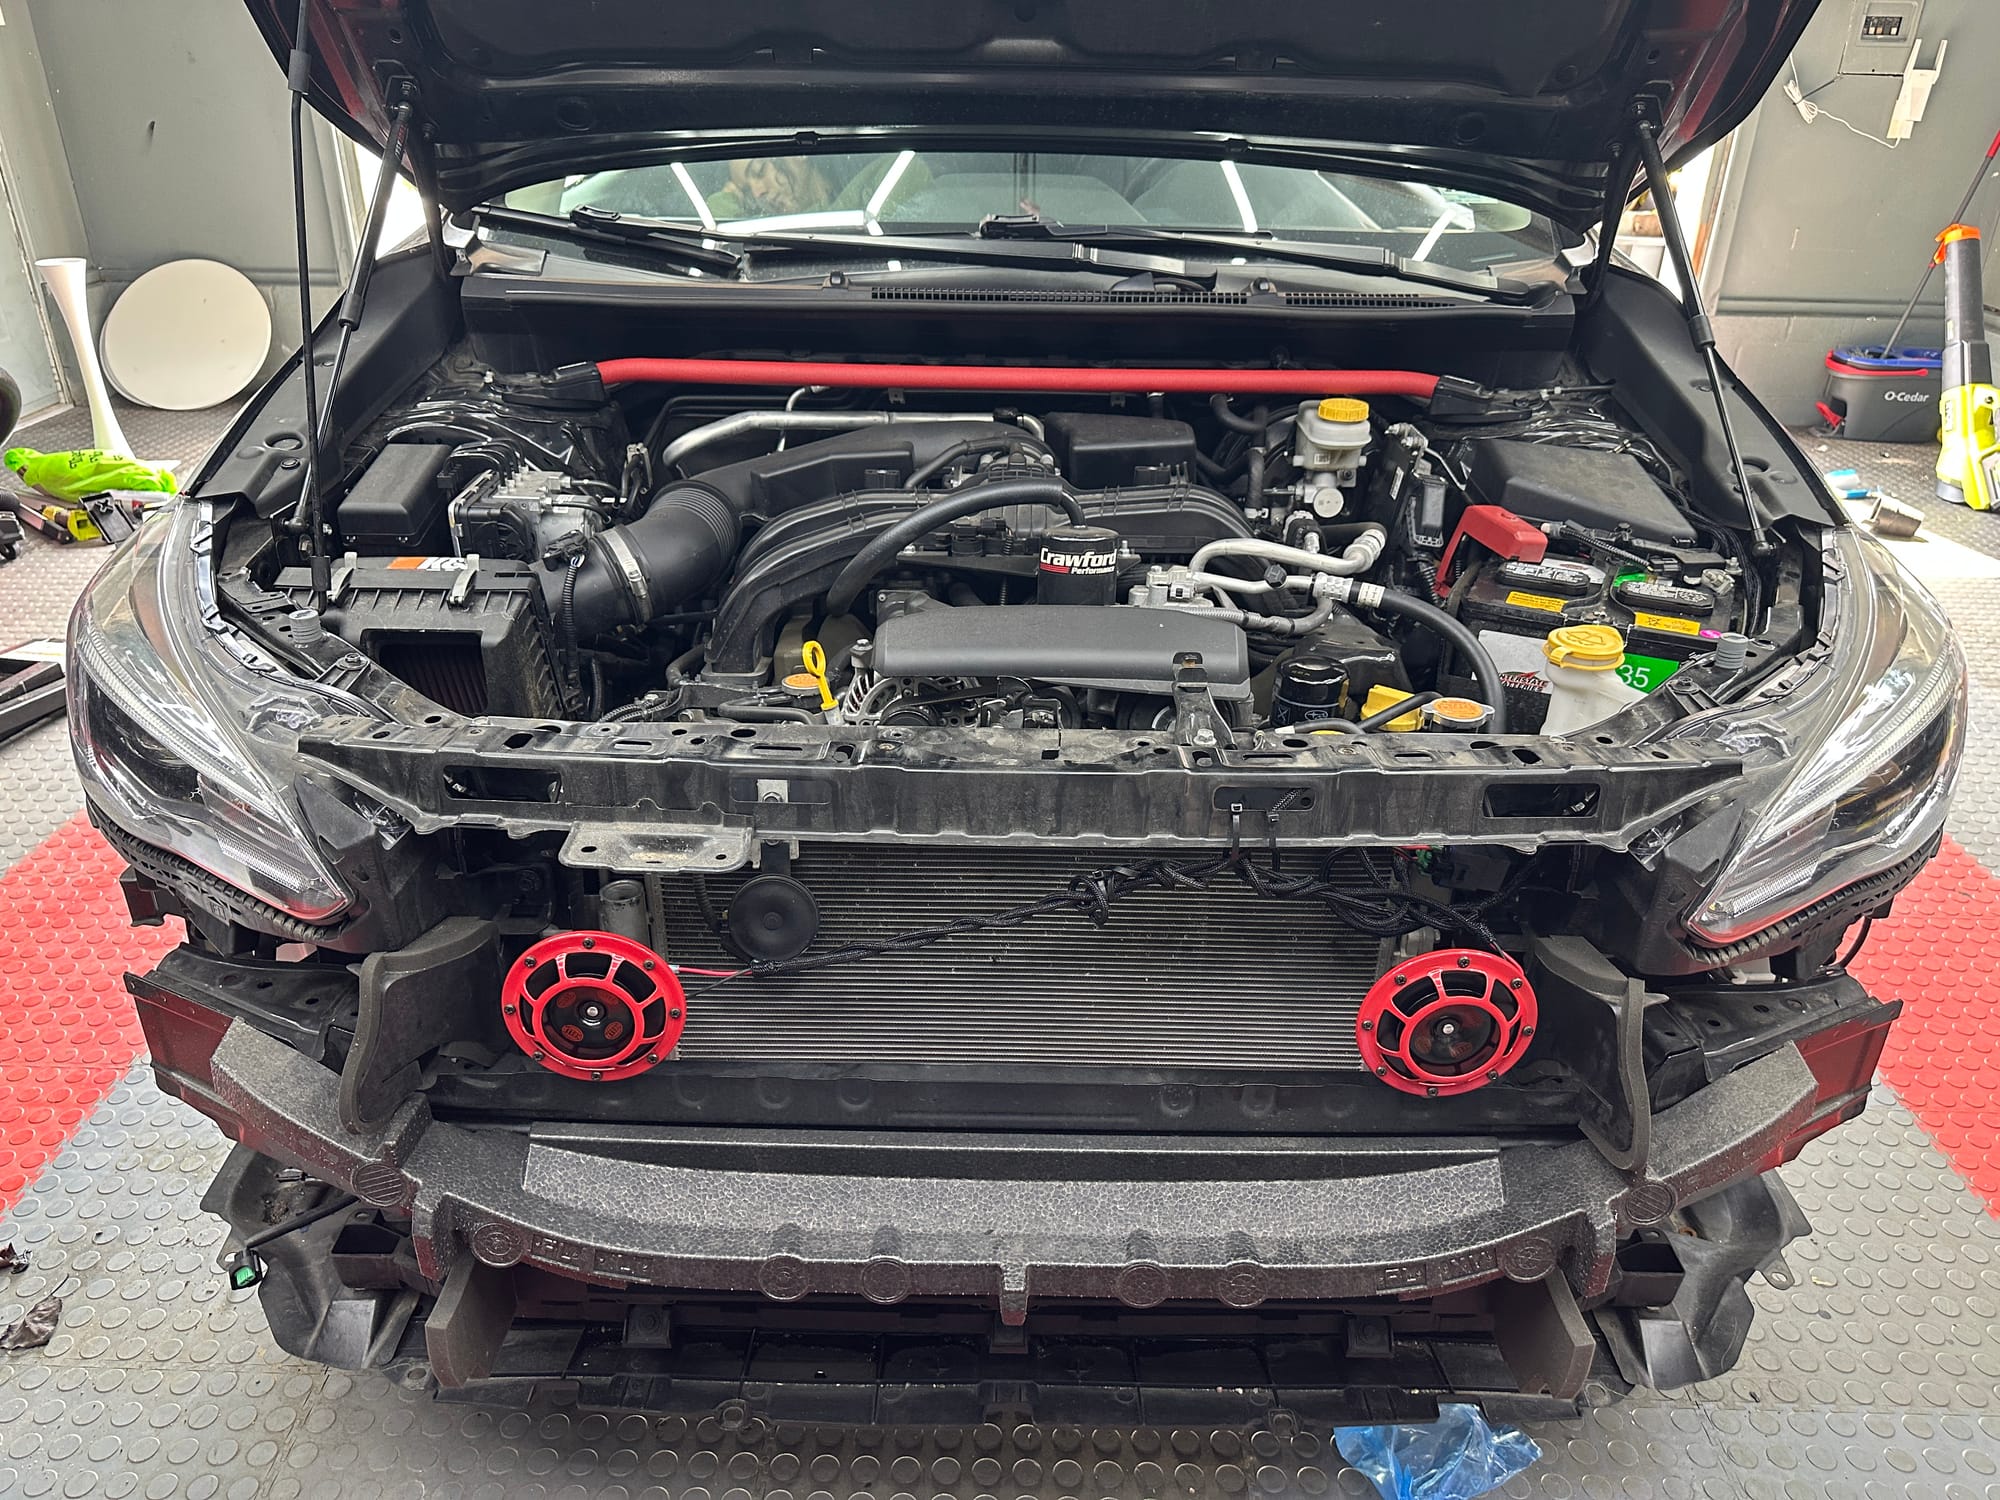
You can now see the two horns mounted to pre-existing holes on the crash bar. They were mounted using the long bolts, washers, and nuts I had purchased from Lowes. The wiring harness ran to the battery and I used a ground right behind the fuse box near the battery. The cable used to send power and the signal to the original horn plugged right into the wiring harness port and once everything was hooked up the horns worked immediately.
All in all a very easy project and all it took was two hours on a Saturday.